
Sections in this article:
- How to Add a New Resource
- Most-Used Resource Settings
- Optional Resource Settings
- Turning Off Conflict Detection for Resources
- Creating a Hierarchy of Resources
A resource is anything movable people need for an event, like tables, chairs, projectors, sound equipment or coffee urns. Admins add and edit resources under Settings > Basic > Resources.
Related articles: Spaces, Resources, Services Navigation | Event Scheduler · Items | Editing & Deleting Items (Spaces, Resources, Services) in eSPACE
How to Add a New Resource
- Go to Settings > Basic > Resources.
- Click Add New Resource at the top right.
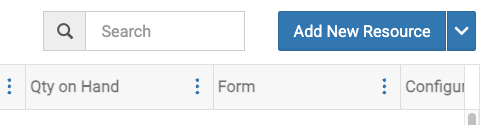
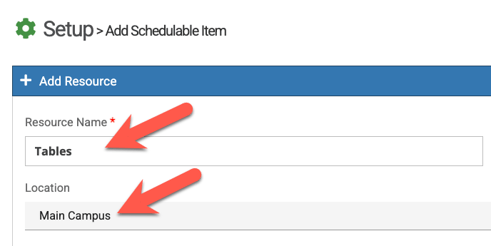
- Enter the resource name and choose its location (or leave Location blank to share it across all locations).
- Fill in any other settings you need. Each one is explained below.
- Click Save.
To change a resource later, go to Settings > Basic > Resources, hover over the resource, click the three dots and choose Edit.
Most-Used Resource Settings
Name & Location
Enter a name for the resource. Each resource needs its own name; two resources can't have the same one.
If you have more than one location, choose where the resource lives. To share a resource with every location, leave Location blank.
Tracking Inventory
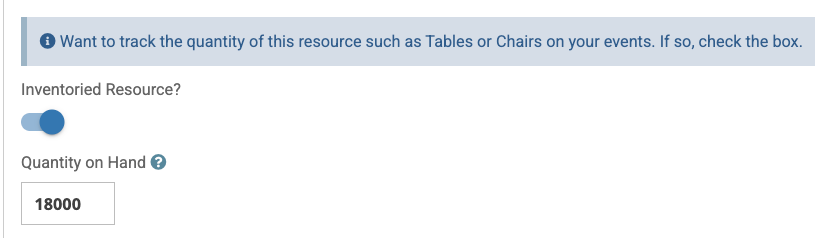
Turn this on for resources you have a set number of, like tables or chairs. Turn on Inventoried Resource? and enter the Quantity on Hand.
When someone adds the resource to an event, they'll see how many are available. If an event needs more than you have, it shows on your dashboard under ! Resource Shortages. Learn more: Items | Marking a Resource as Inventoried & Tracking Resources on Events
Availability Schedule
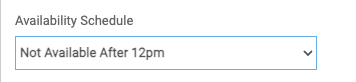
Choose an availability schedule if this resource can only be booked at certain times. Learn more: Adding Availability Schedules to Spaces, Resources, Services, Locations
Tags
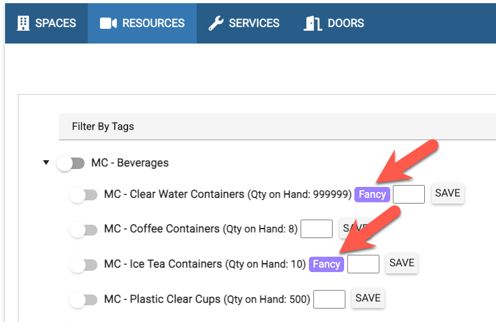
Add one or more tags (like Fancy or Outdoor). People can filter by tags on the Resources tab of an event to find what they need.

Here's how tags look on the Items > Resources tab of an event:
Internal Form
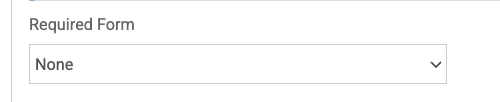
Attach a form you built under Settings > Advanced > Form Builder, and make it required if you want. Anyone who adds this resource to an event will be asked to fill it out, both when creating the event and on the Setup tab.
Can Be Scheduled & Requires Approval
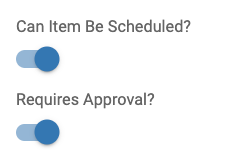
Both settings are turned on by default. Turn off Can Item Be Scheduled? if people shouldn't book this resource, or Requires Approval? if bookings don't need approval.
These settings don't apply to a parent resource (one with child resources under it). Choosing a parent on an event books all of its children.
Optional Resource Settings
Public Options
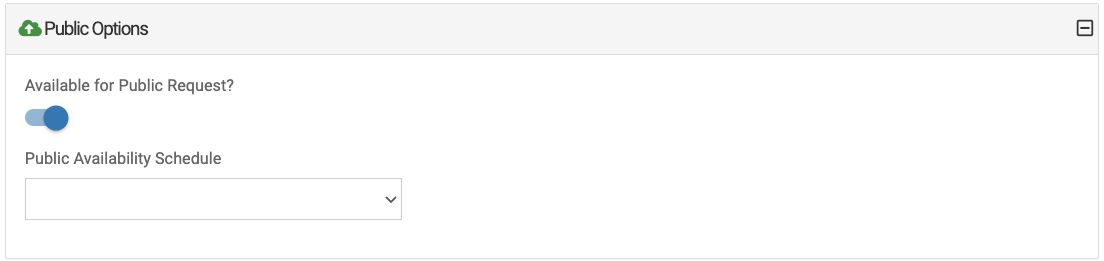
Turn on Available for Public Request? if people should be able to pick this resource on your public event request form. You can also choose a Public Availability Schedule to limit when the public can request it. Learn more: External Event Request Forms
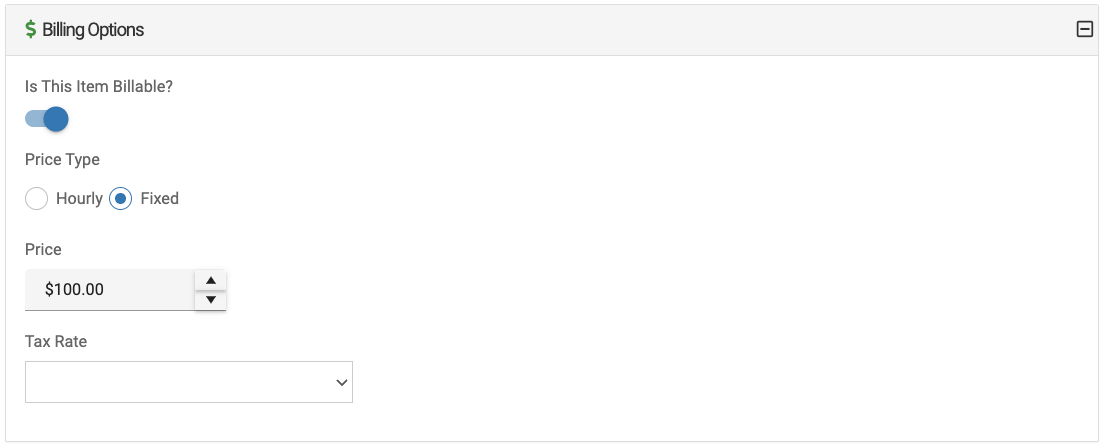
Billing Options
If your subscription includes Billing & Invoicing, you can make the resource billable and set an hourly or fixed price and a tax rate.
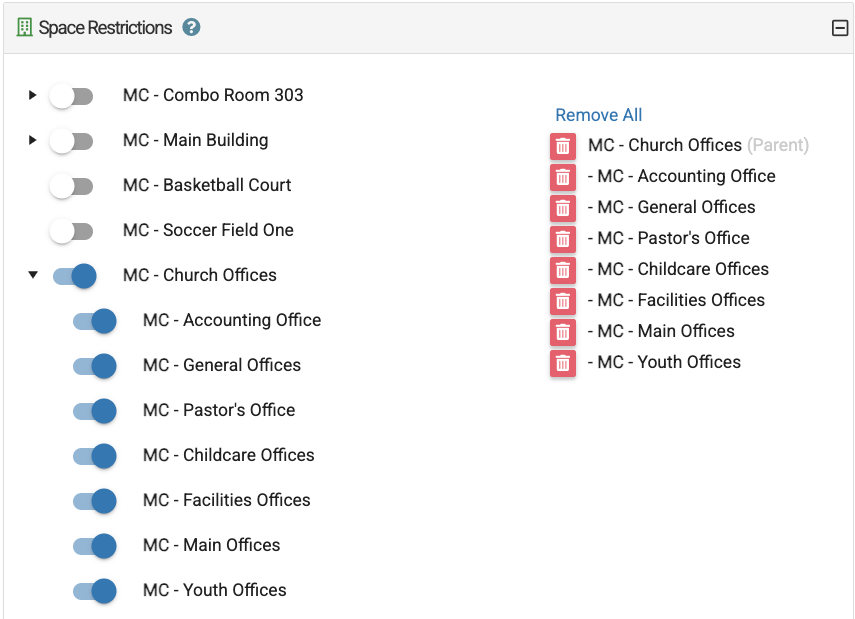
Space Restrictions
Choose the spaces this resource can be used in. People will only be able to add it to an event after they've picked one of those spaces. Learn more: Items | Restricting Resources or Services to Certain Spaces
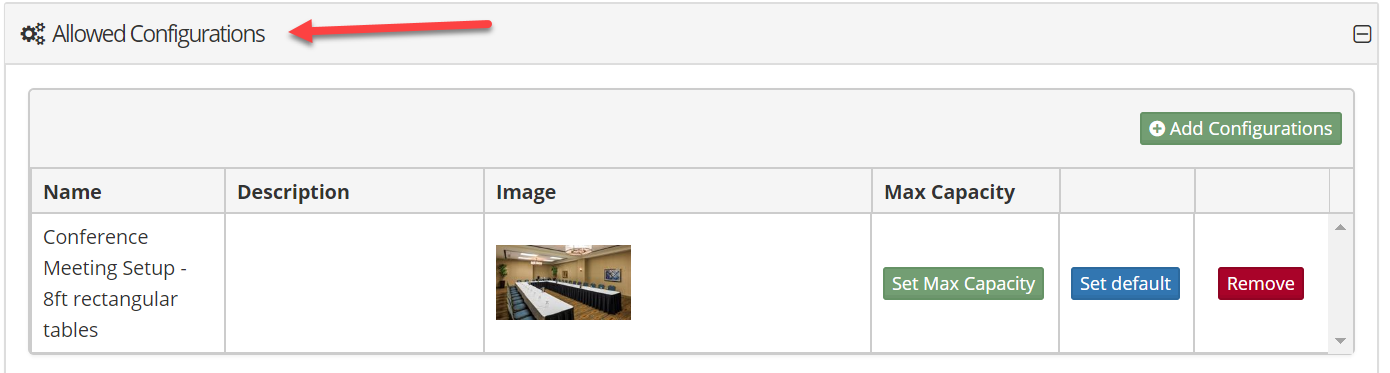
Allowed Configurations
Configurations are standard setups people can pick on the Setup tab of their event. Click Allowed Configurations to expand it, then add the ones that fit this resource. Click Set default to show one automatically, or Remove to take one off. Learn more: Configurations | Add and Manage Standard Setups
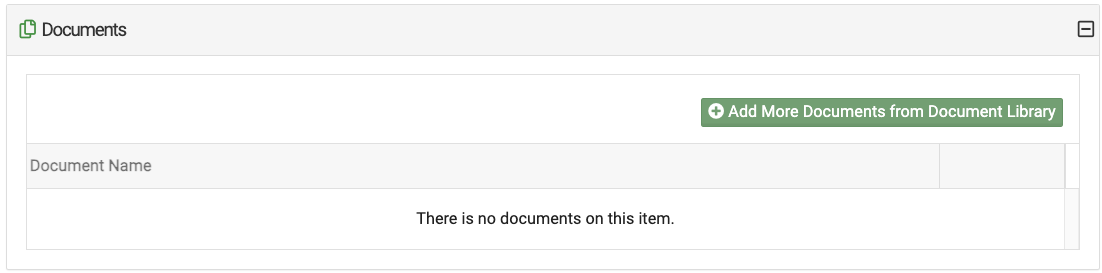
Documents
Click Documents to expand it, then attach files from your document library, like setup instructions or a user manual.
Upcoming Closures
Shows any closures that affect this resource, with the closure name, description, dates and times. Learn more: Adding Closures for Holidays & Maintenance

When you're done, click Save.
Turning Off Conflict Detection for Resources
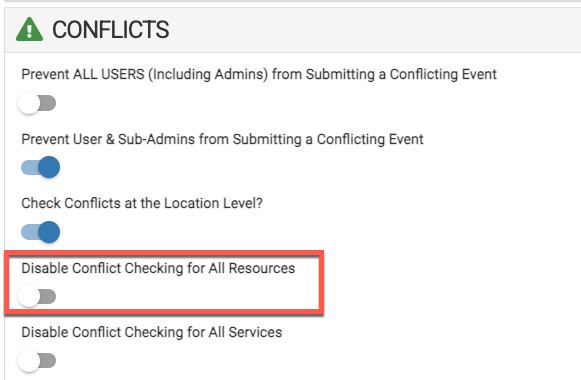
If you manage resources outside eSPACE, you can turn off conflict detection for them so double-bookings aren't flagged. Go to Settings > Advanced > General > Conflicts.
This setting applies to all resources or none; you can't pick individual resources to turn conflict detection off for.
Creating a Hierarchy of Resources
Admins can put resources in a preferred order, or group them by building, floor or type. Everyone then sees them in that order on the Items tab of events. Learn more: Items | Rearrange Spaces, Resources & Services into a Hierarchy