Sections in this article:
- How Event Request Forms Work
- Create the Form
- Choose What People Can Request
- Add Custom Questions
- Make the Form Billable
- Preview and Share the Form
- What Requesters See
How Event Request Forms Work
An event request form lets people outside eSPACE, like a family planning a wedding or a community group, ask to use your building. They fill it out from your public calendar or from a link you send. The form's managers then review each request and approve it, decline it or send it through your normal approval process. Requesters get an email when their event is approved.
Only admins can create event request forms. Event request forms are included in some eSPACE subscription tiers; to check yours, admins with billing access can go to Settings > Other > Billing > Manage, or contact support.
After you set up a form, see Event Request Forms | Managing Requests as They Come In to learn how to handle them. (Link to Article 2 once it's published.)
Create the Form
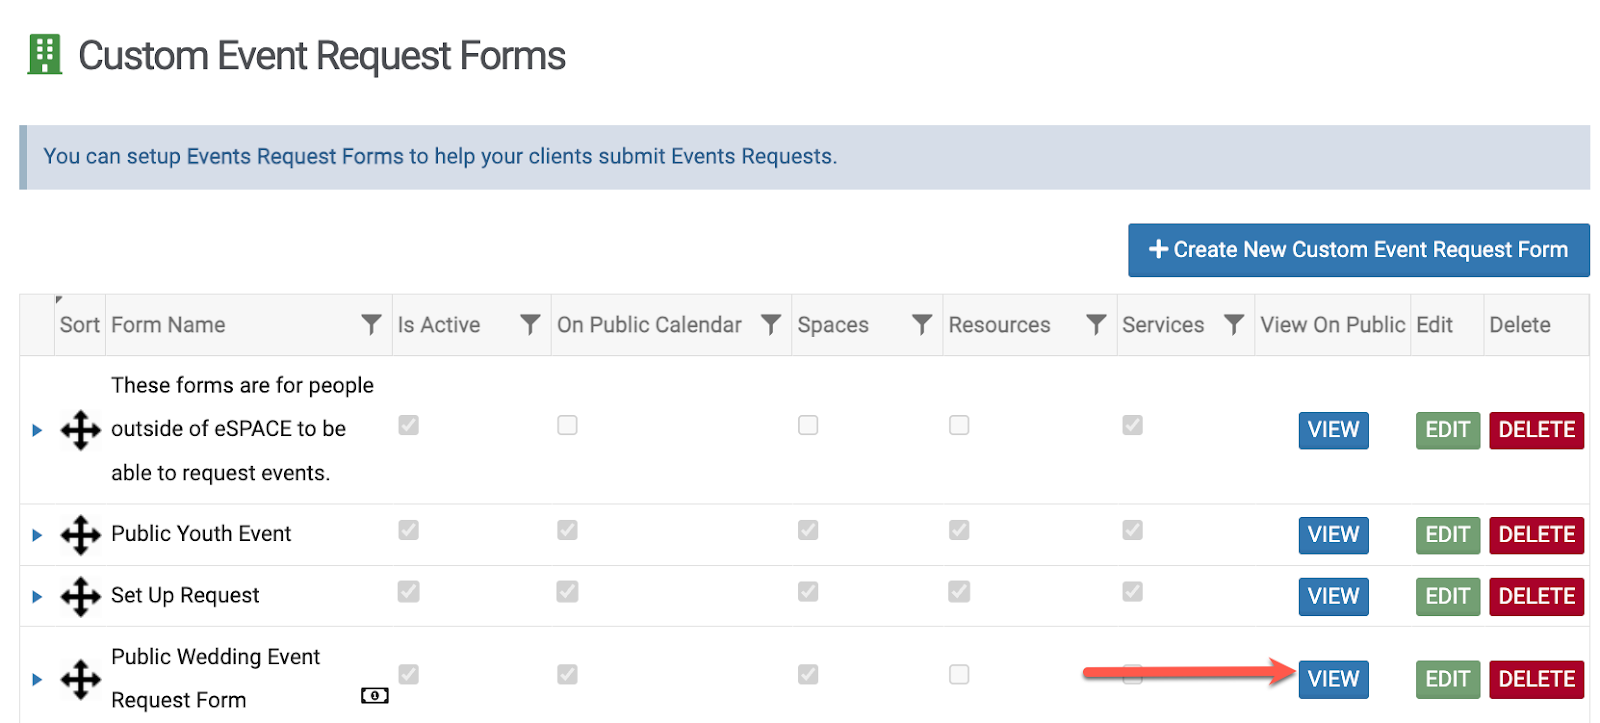
- Go to Settings > Advanced > Event Request Forms.
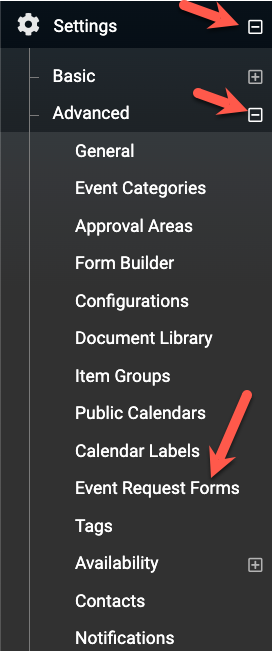
- Click Create New Custom Event Request Form.

Every form automatically includes first name, last name, email, phone, event name, description, event date/times and location.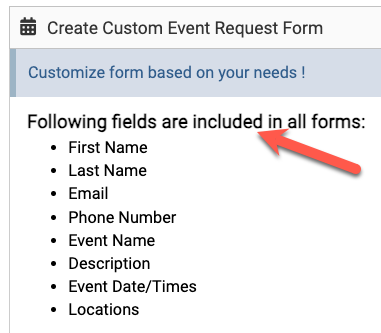
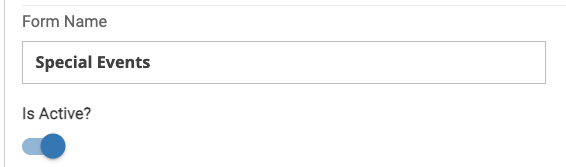
- Give the form a name and make sure Is Active? is on.
- Locations: Turn on at least one location under Possible Locations. If you have more than one, you can turn on Allow Users To Select Multiple Locations, and then Allow Calendar Overrides to let requesters choose which public calendar the event shows on.
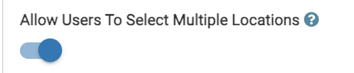
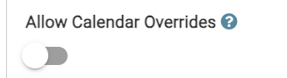
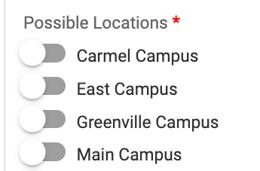
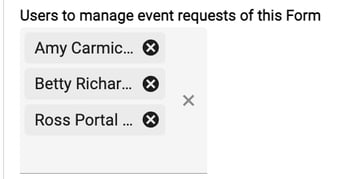
- Managers: Add the people who will review requests from this form. They can be users, sub-admins or admins. Only managers see Event Requests in their left menu. Note that a manager who isn't an admin can still approve requests and skip your normal approval process.

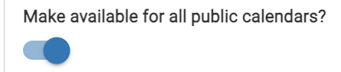
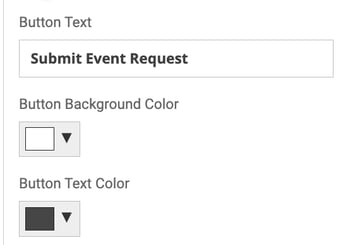
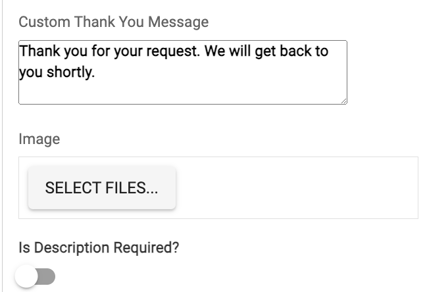
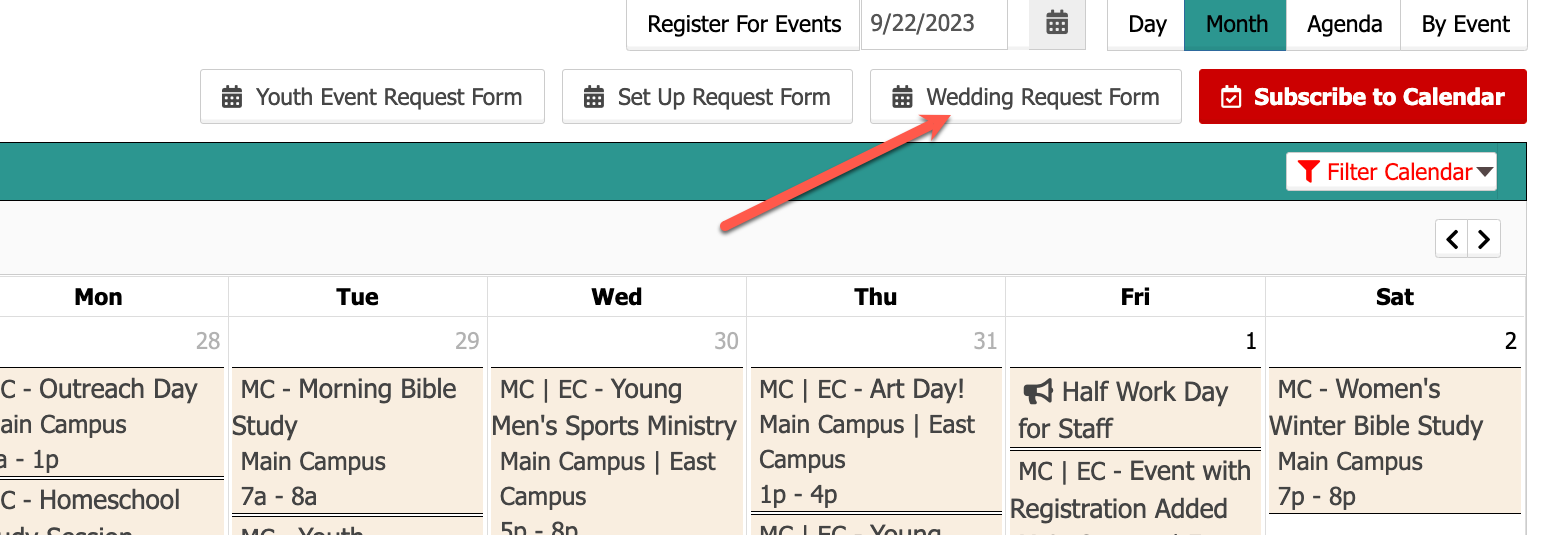
- Public calendar: Turn on Make available for all public calendars? to show a button for this form on your public calendar. You can change the button text and colors, add a thank-you message and an image, and require an event description. Learn more: Public Calendar Feature | Embed Your eSPACE Calendar on Your Website
Choose What People Can Request
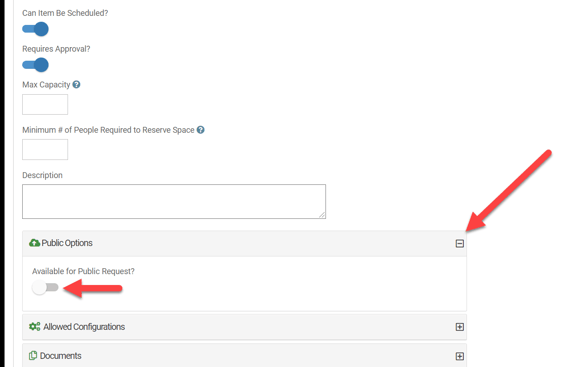
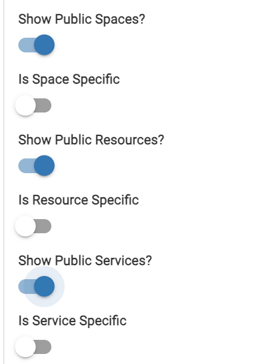
7. Spaces, resources and services: Turn on Show Public Spaces, Show Public Resources and/or Show Public Services. Only items marked Available for Public Request (under Settings > Basic > Spaces, Resources or Services) will appear, and only for the form's locations.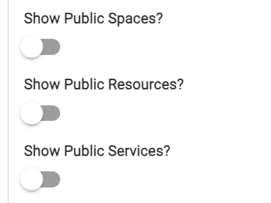
8. Limit to certain items (optional): Turn on Is Space Specific, Is Resource Specific or Is Service Specific to pick exactly which items show on this form.
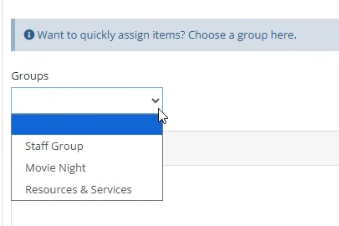
9. Item groups: To let people pick an item group (a set of spaces, resources and services), turn on all three "Is … Specific" toggles.
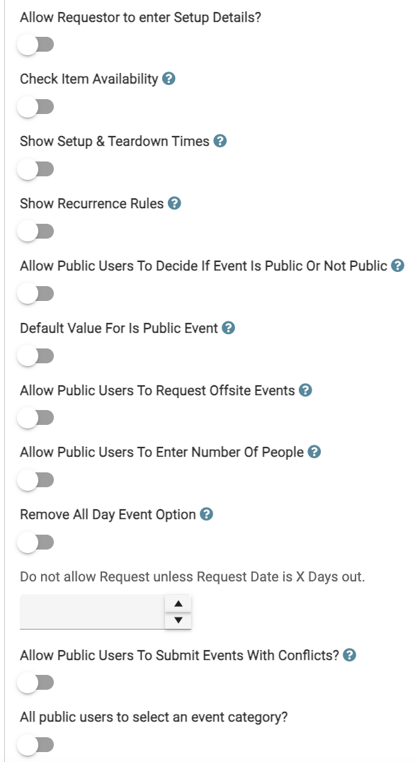
10. Require an item (optional): Turn on Require at Least One Item if every request must include at least one space, resource or service. You can't require a specific item.
Add Custom Questions
13. Add your own questions to the form. They appear at the bottom of the first page; space, resource and service choices are always on the second page. Drag the questions to change their order.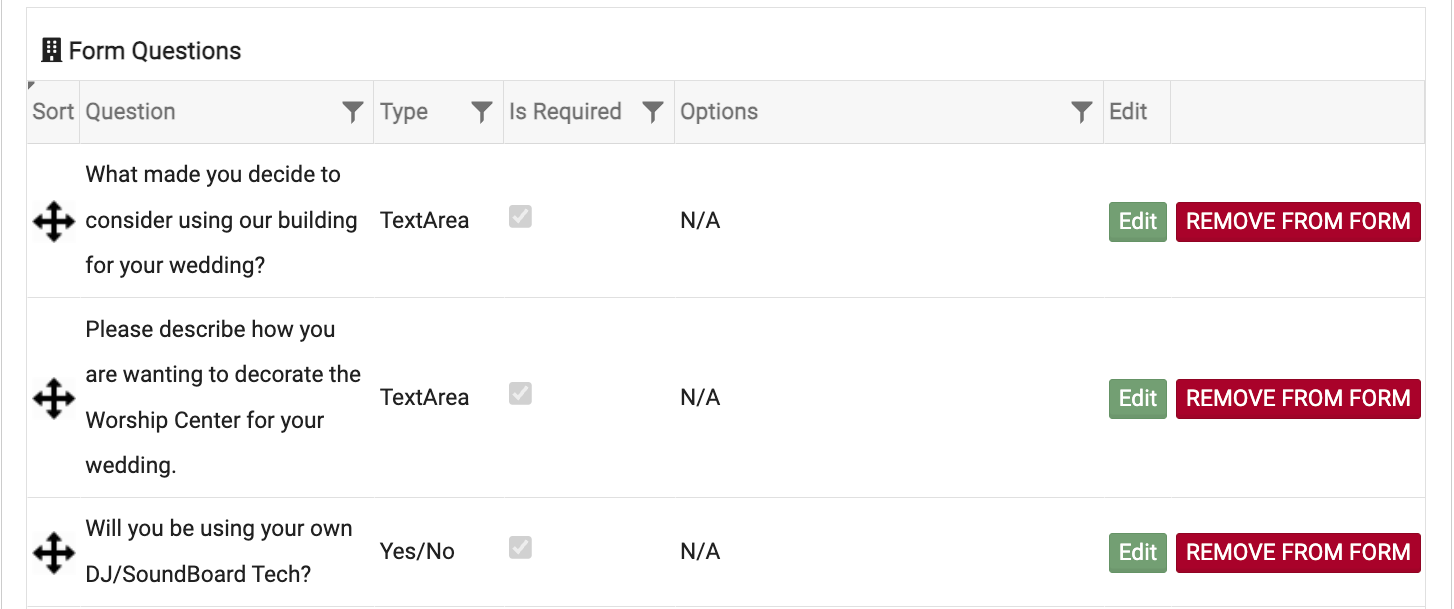
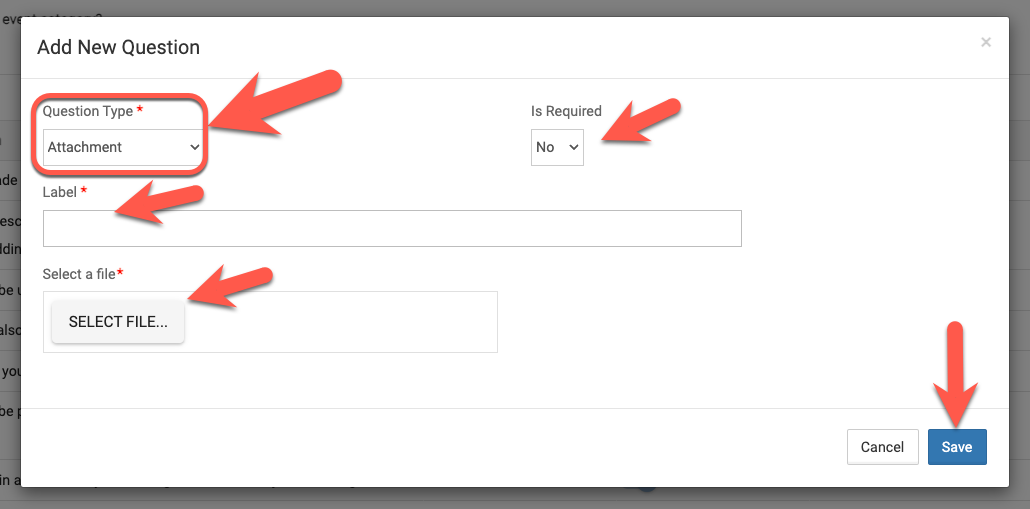
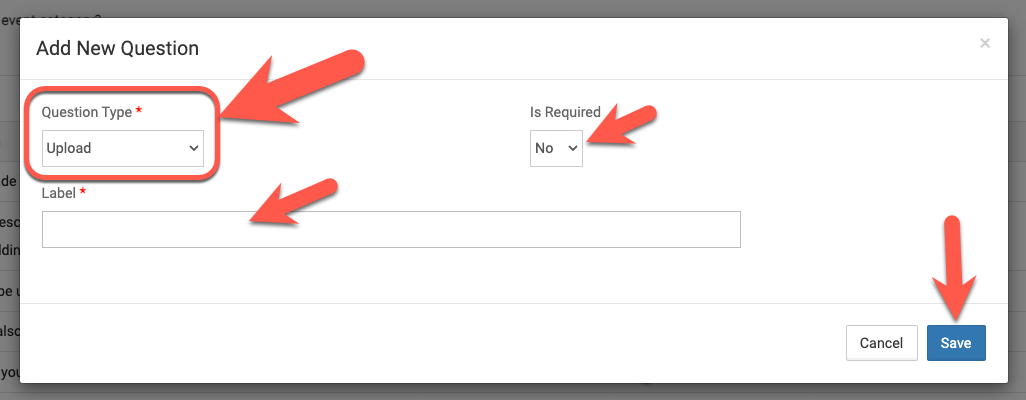
Two special question types are useful:
-
Attachment: a file the requester can download, like your facility use policy.
-
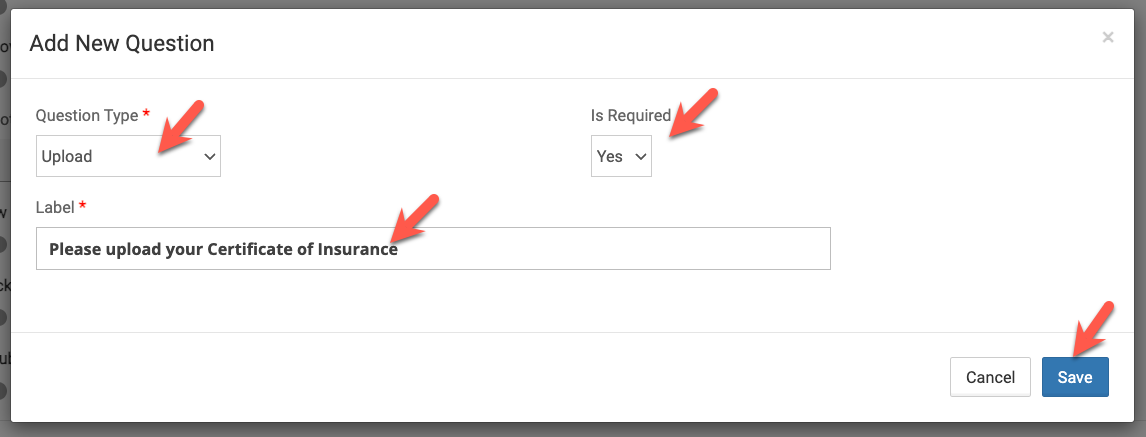
Upload: a file the requester must upload, like a signed agreement or certificate of insurance.
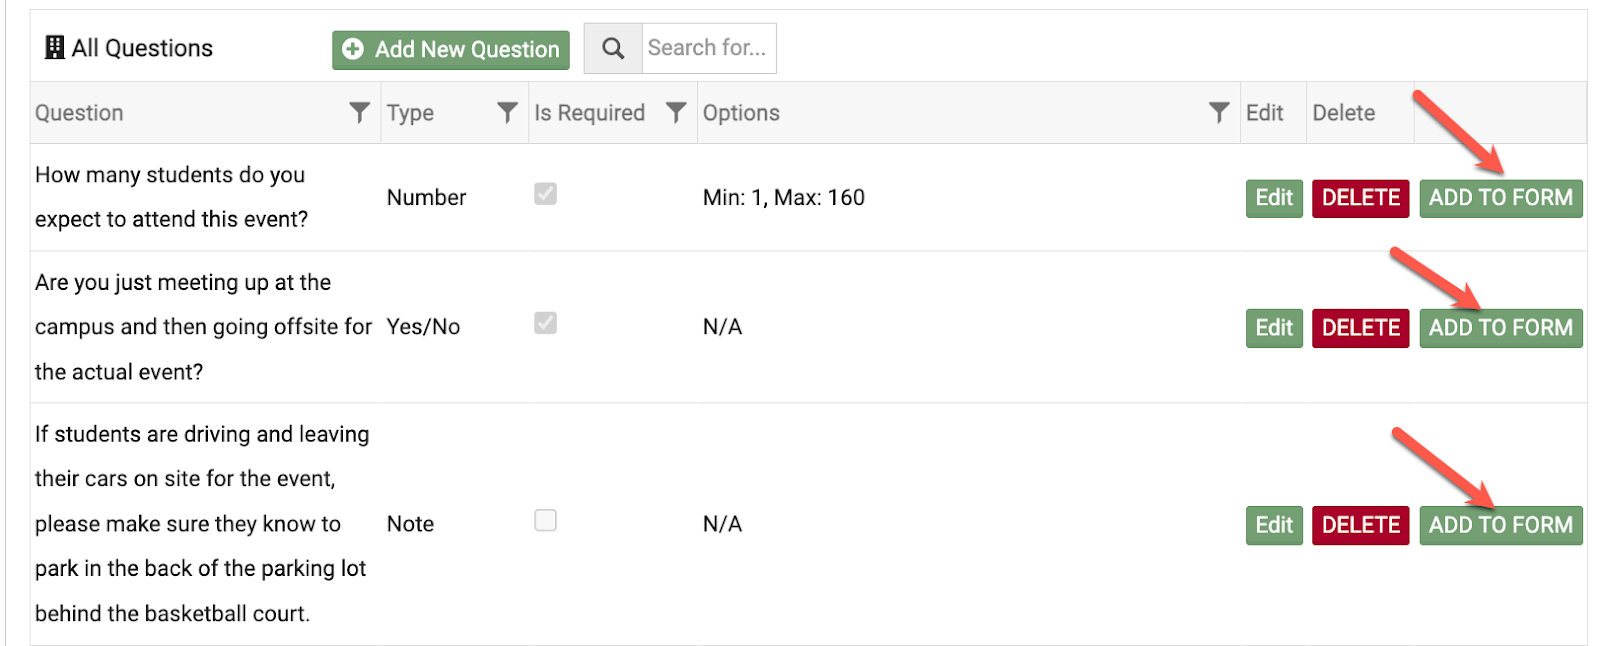
14. To reuse questions from other forms, click Add to Form next to them under All Questions.
15. Click Save.
Make the Form Billable
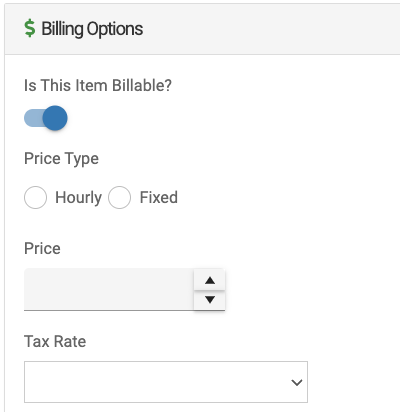
If your subscription includes Billing & Invoicing, you can make a form billable. Only spaces, resources and services that have a price will show on a billable form. To set a price, go to Settings > Basic > Spaces (or Resources or Services), hover over the item, click the three dots, choose Edit and fill in Billing Options.
Tip: on a billable form, add an Upload question (marked required) for something like a certificate of insurance.
Preview and Share the Form
Go to Settings > Advanced > Event Request Forms and click View next to the form. Click the arrow beside the form name to see its details, including the link you can email to people.
If the form is on your public calendar, people will see a button for it at the top.
What Requesters See
-
-
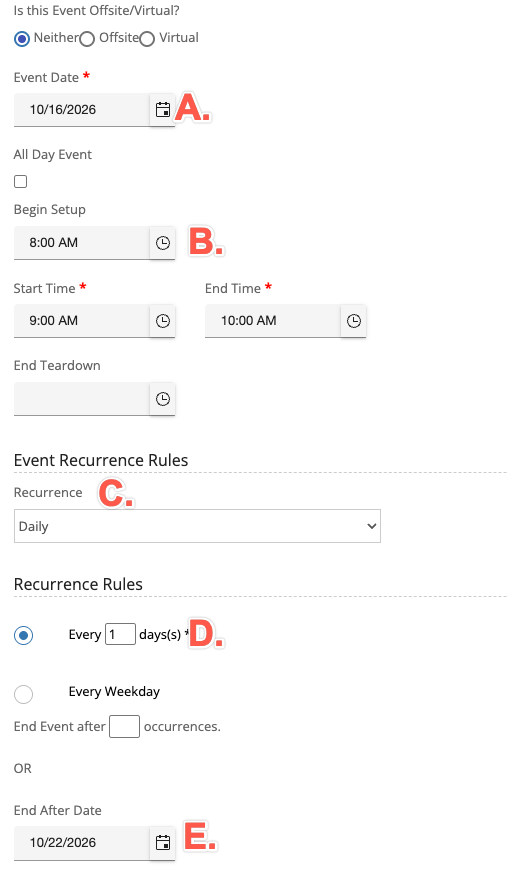
Dates and times: Requesters choose a start date, setup and teardown, and start and end times. They can't make one continuous event that runs past 24 hours. For a multi-day event, they choose (A) a start date, (B) setup/teardown and start/end times, (C) a recurrence, (D) how often it repeats and (E) an end date.
-
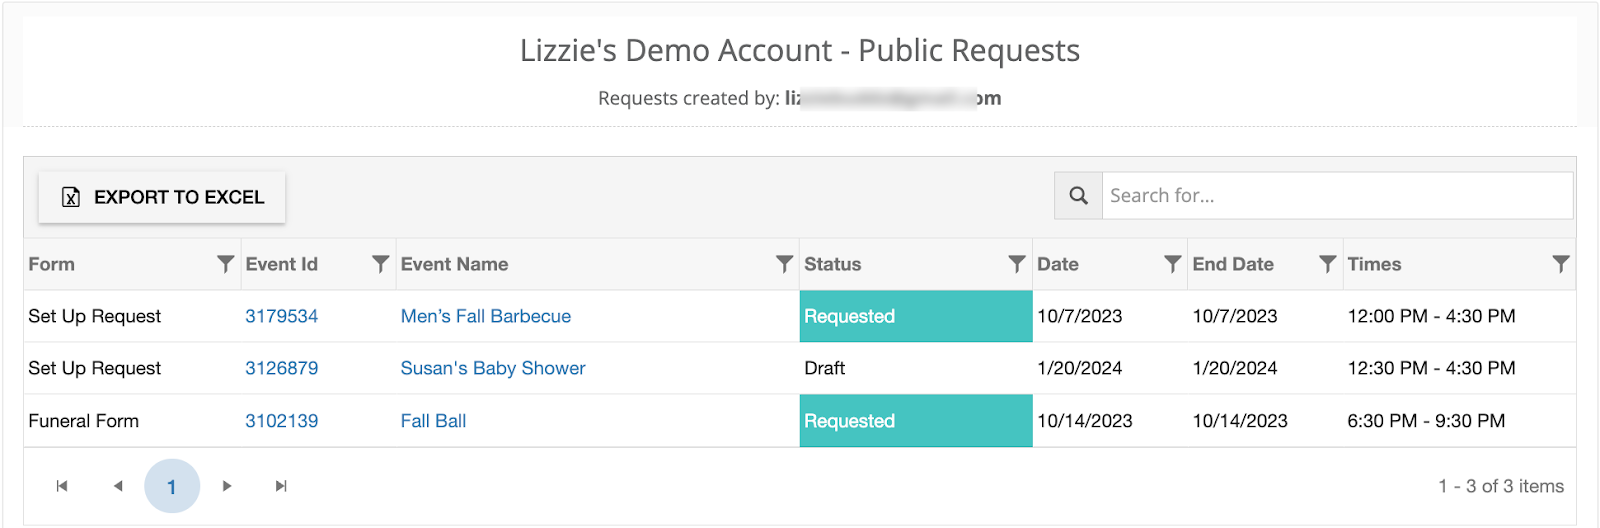
Drafts: If they start a request but don't finish, it's saved as a draft so they can come back and finish it.

-
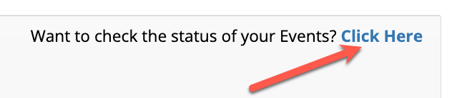
Checking status: They can click Click Here at the top right of the form to see the status of all their requests.
-