
After a work order has been submitted, Admins and Sub-Admins (based on user permissions given) can easily add equipment to the work order, based on what Location, space, and Service Category is selected on the work order. If the equipment is also associated to a particular Space, you will need to select the Space on the work order before being able to select that piece of equipment.
- Tip: If you are unable to select equipment on a work order, check to make sure that piece of equipment has been assigned the same service category as the work order. Also, check to make sure the equipment has been assigned to the same location as what is selected on the work order.
- Related article: Add and Manage Your Equipment
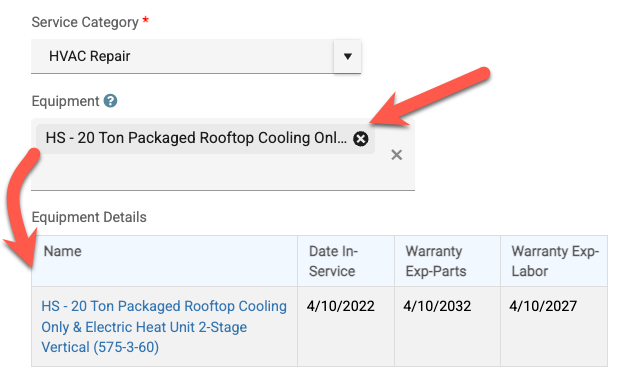
When you select the desired equipment on the work order, you will then see the "Equipment Details" that includes the name of the equipment, date in-service, warranty expiration date for parts and warranty expiration date for labor!
Viewing Equipment Settings & Work Orders per Equipment
Admins and sub-admins who have been given permission to manage equipment will be able to see and edit the equipment under Settings > Basic > Equipment.
You will see some settings on the Equipment page. To view more and edit them, click "Edit" on a piece of equipment.
In order to view individual work orders that were manually created and work orders that were automatically created from a Preventative Maintenance [PM], click the blue arrow to expand and view those. 
After clicking edit on a piece of equipment, you will see fields such as the manufacturer, model, and warranty information.

- You can associate inventory with equipment under Settings > Advanced > Inventory > Inventory Groups.

